
OUR TOP 5 VINYL CARE ACCESSORIES
WE RECOMMEND OUR TOP 5 PRODUCTS FOR MAINTAINING YOUR VINYL ON A BUDGET
TOP 5 VINYL CARE ACCESSORIES ON A BUDGET
How to care for vinyl records: a complete routine for cleaning, maintenance and improved sound quality...
One of the joys of playing a vinyl record is that you’re interacting with something physical, something real. With your bare hands you select and load a piece of physical media, which is then processed and played in real time right before your ears. It’s visceral…and it’s very satisfying.
Perhaps that can be seen as a bane as well: being physical, we must also contend with the onslaught of household dust. Fine and course particles are ever floating around every indoor space, and they’ll settle on records, essentially adding tiny speed humps onto the otherwise musical record grooves.
That’s why vinyl care is so important. It maintains your records and stylus…and it dramatically improves the sound quality you get.
The good news is, when you have a complete, proven, and efficient care routine to follow with your vinyl collection—and just a handful of budget items—it really is effortless to keep good turntable hygiene.
Below you’ll find what we recommend to our clients:
Want to see how it works? Watch our YouTube demo here.
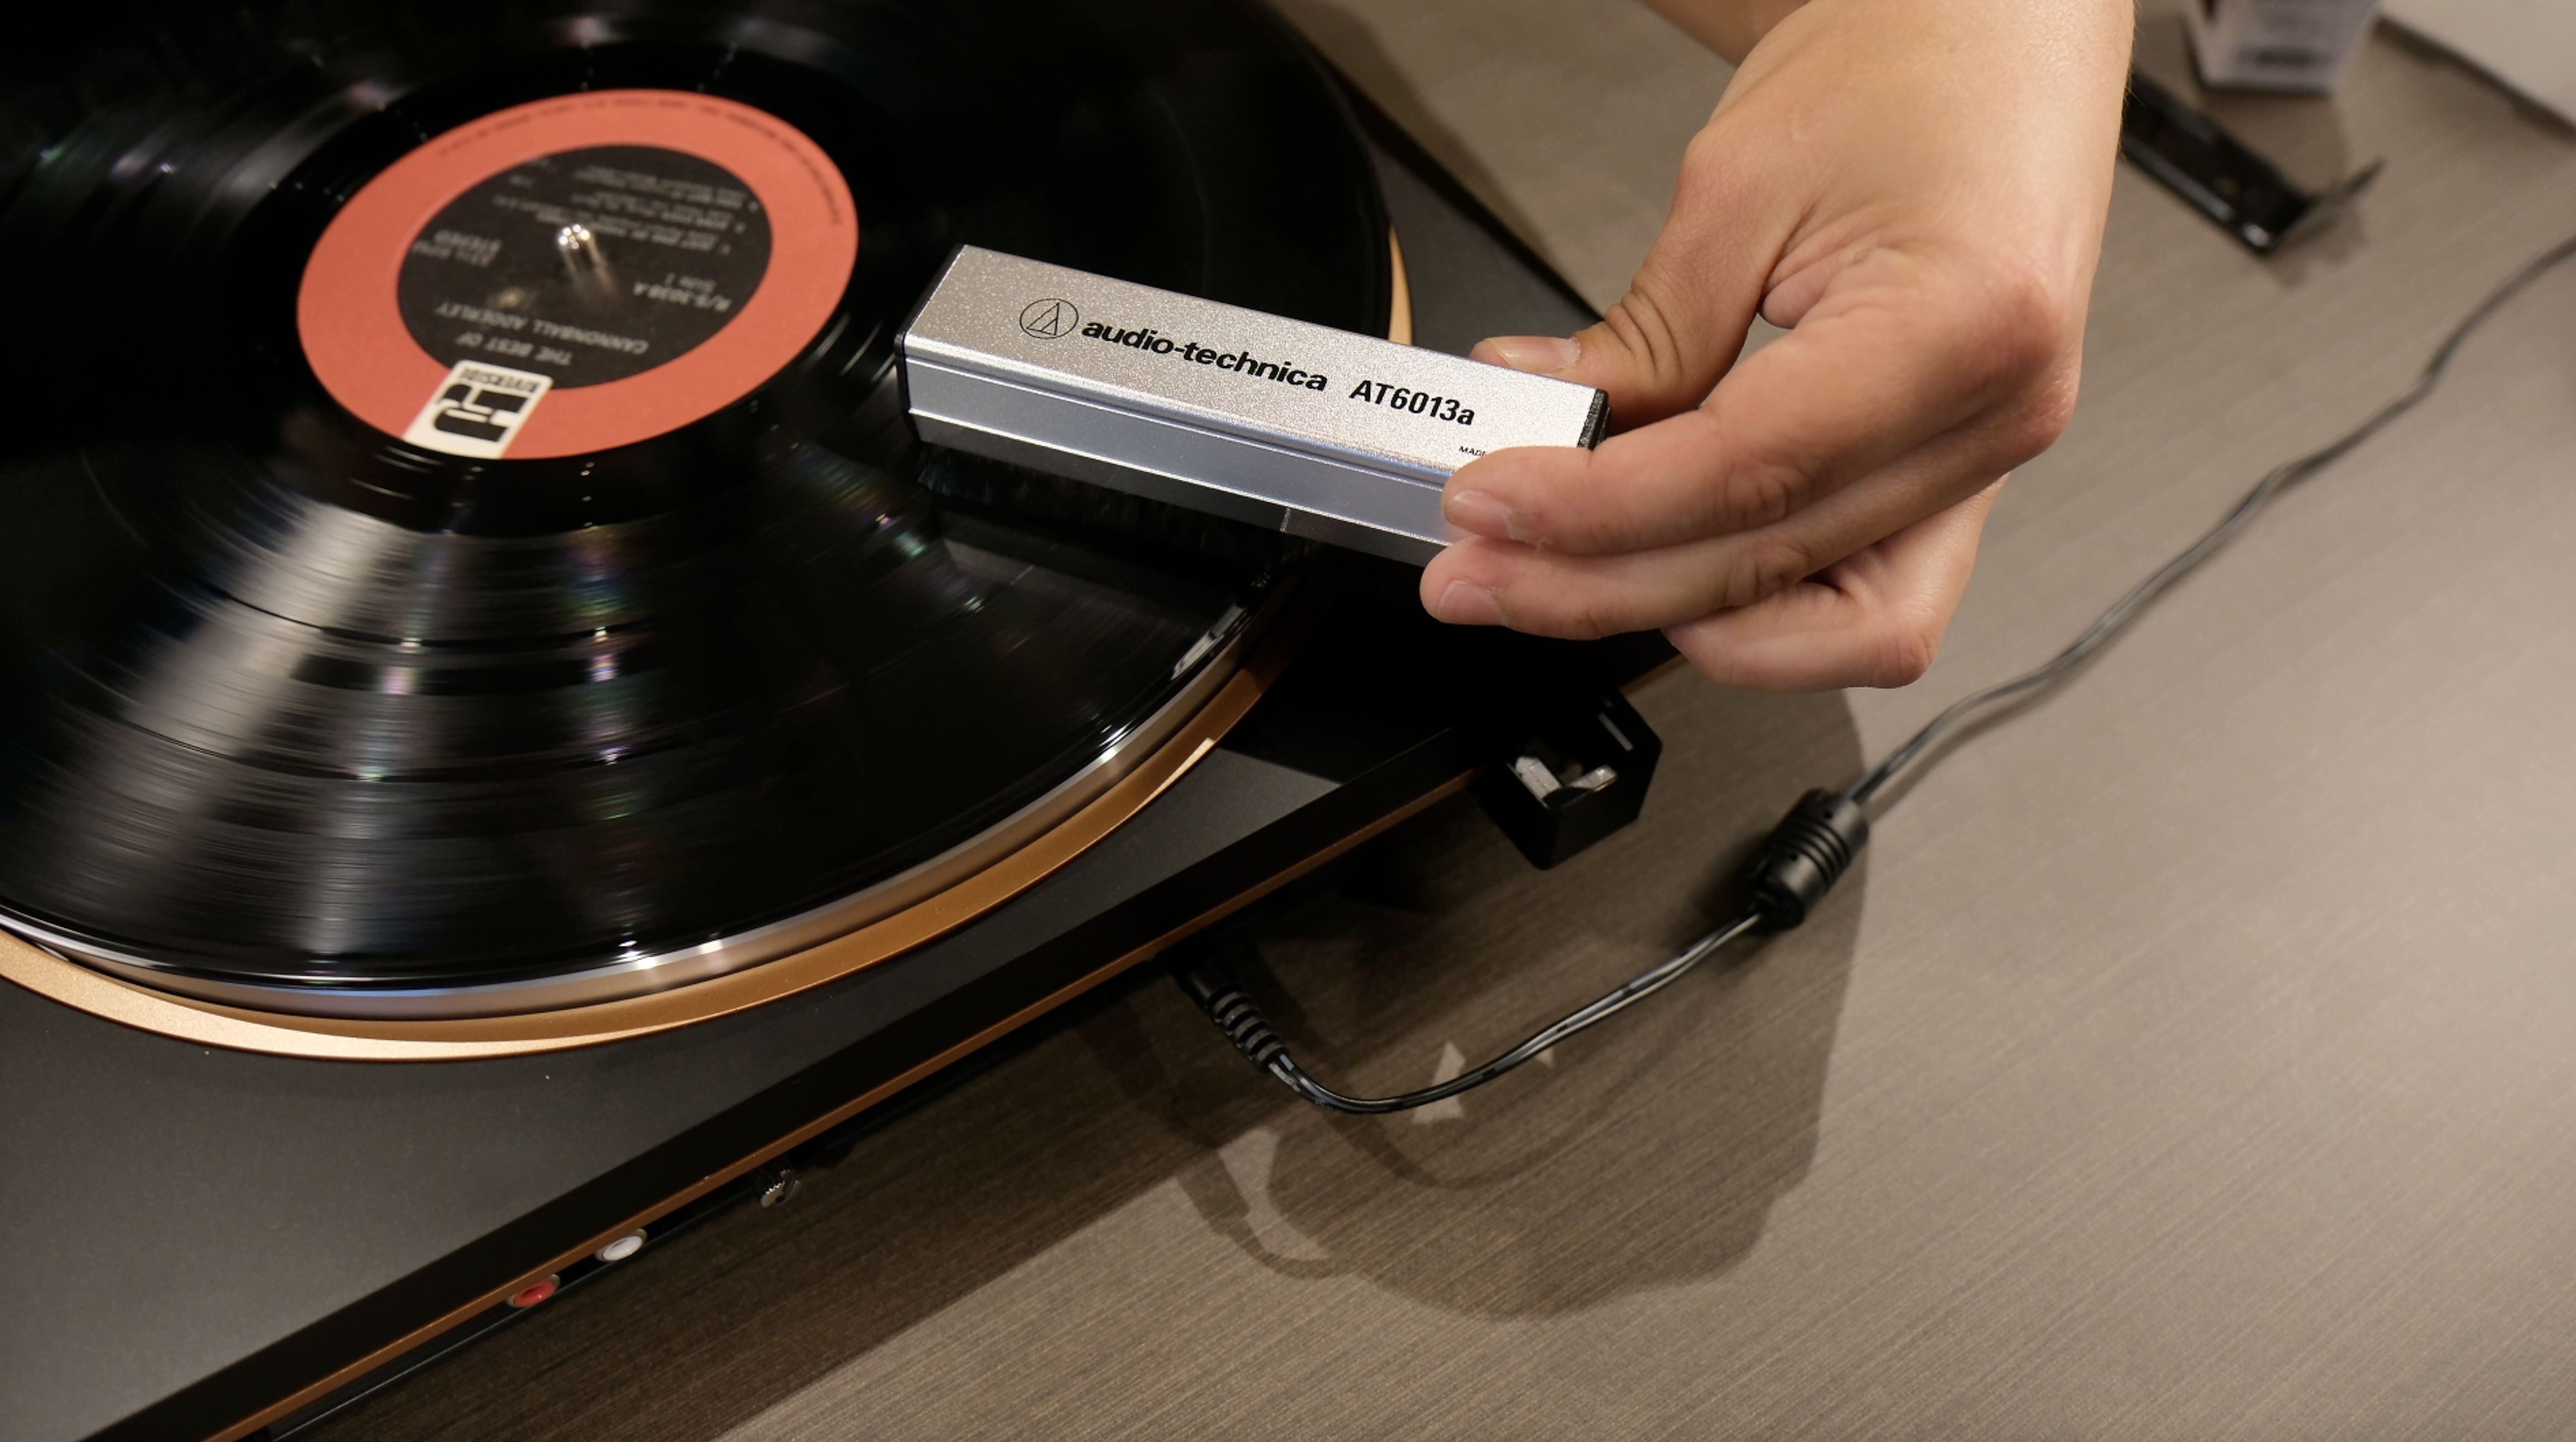
#1 Audio-Technica Record Care Kit
Remove stuck-on particles from your record
Some of the particles that settle on a piece of vinyl will stick to it—either due to static electricity, or microscopic amounts of oil. To remove all of these we’ll want to apply a thin coat of record cleaning solution, and then wipe it off.
This can be done with a suitable solution (always use one designed for records to avoid damaging the vinyl) and a simple cloth…but it’s easier to be thorough (and faster) when you use a fillable record brush. Cleaning solution can be put into these, and they have fine hairs, so once they’re damp they reach into the grooves and apply solution to every bit of the record. (Using a cloth for this makes it hard to get into the grooves, and often dust particles are put back onto the record by accident since the cloth is inconsistent.)
The Audio-Technica Record Care Kit is perfect for this job; it includes a solution and a wet brush. The solution is marked to indicate exactly how much fluid to put into the brush each time, and the brush cover has a rubber lip so you can quickly scrape off dust so it’s ready to be used again next time.
To use it, add some fluid to the brush and wait five minutes for it to soak in. Place your record on the platter and turn on the motor so it’s spinning. With slight pressure (not so much as to slow the spinning record) place the brush along one line perpendicular to the grooves, and in towards the label. Move slowly from the label to the edge, watching the surface to see that fluid coats every spot. Keep it moving outwards over the edge and follow through, bringing the brush completely off the record in the same motion.
When to do this: A “wet” cleaning isn't necessary every time, really only when there are visible marks or spots, or if a dry brush (next step) doesn't catch everything. So we recommend visually inspecting your record every time you go to play it, and cleaning any time you see anything.
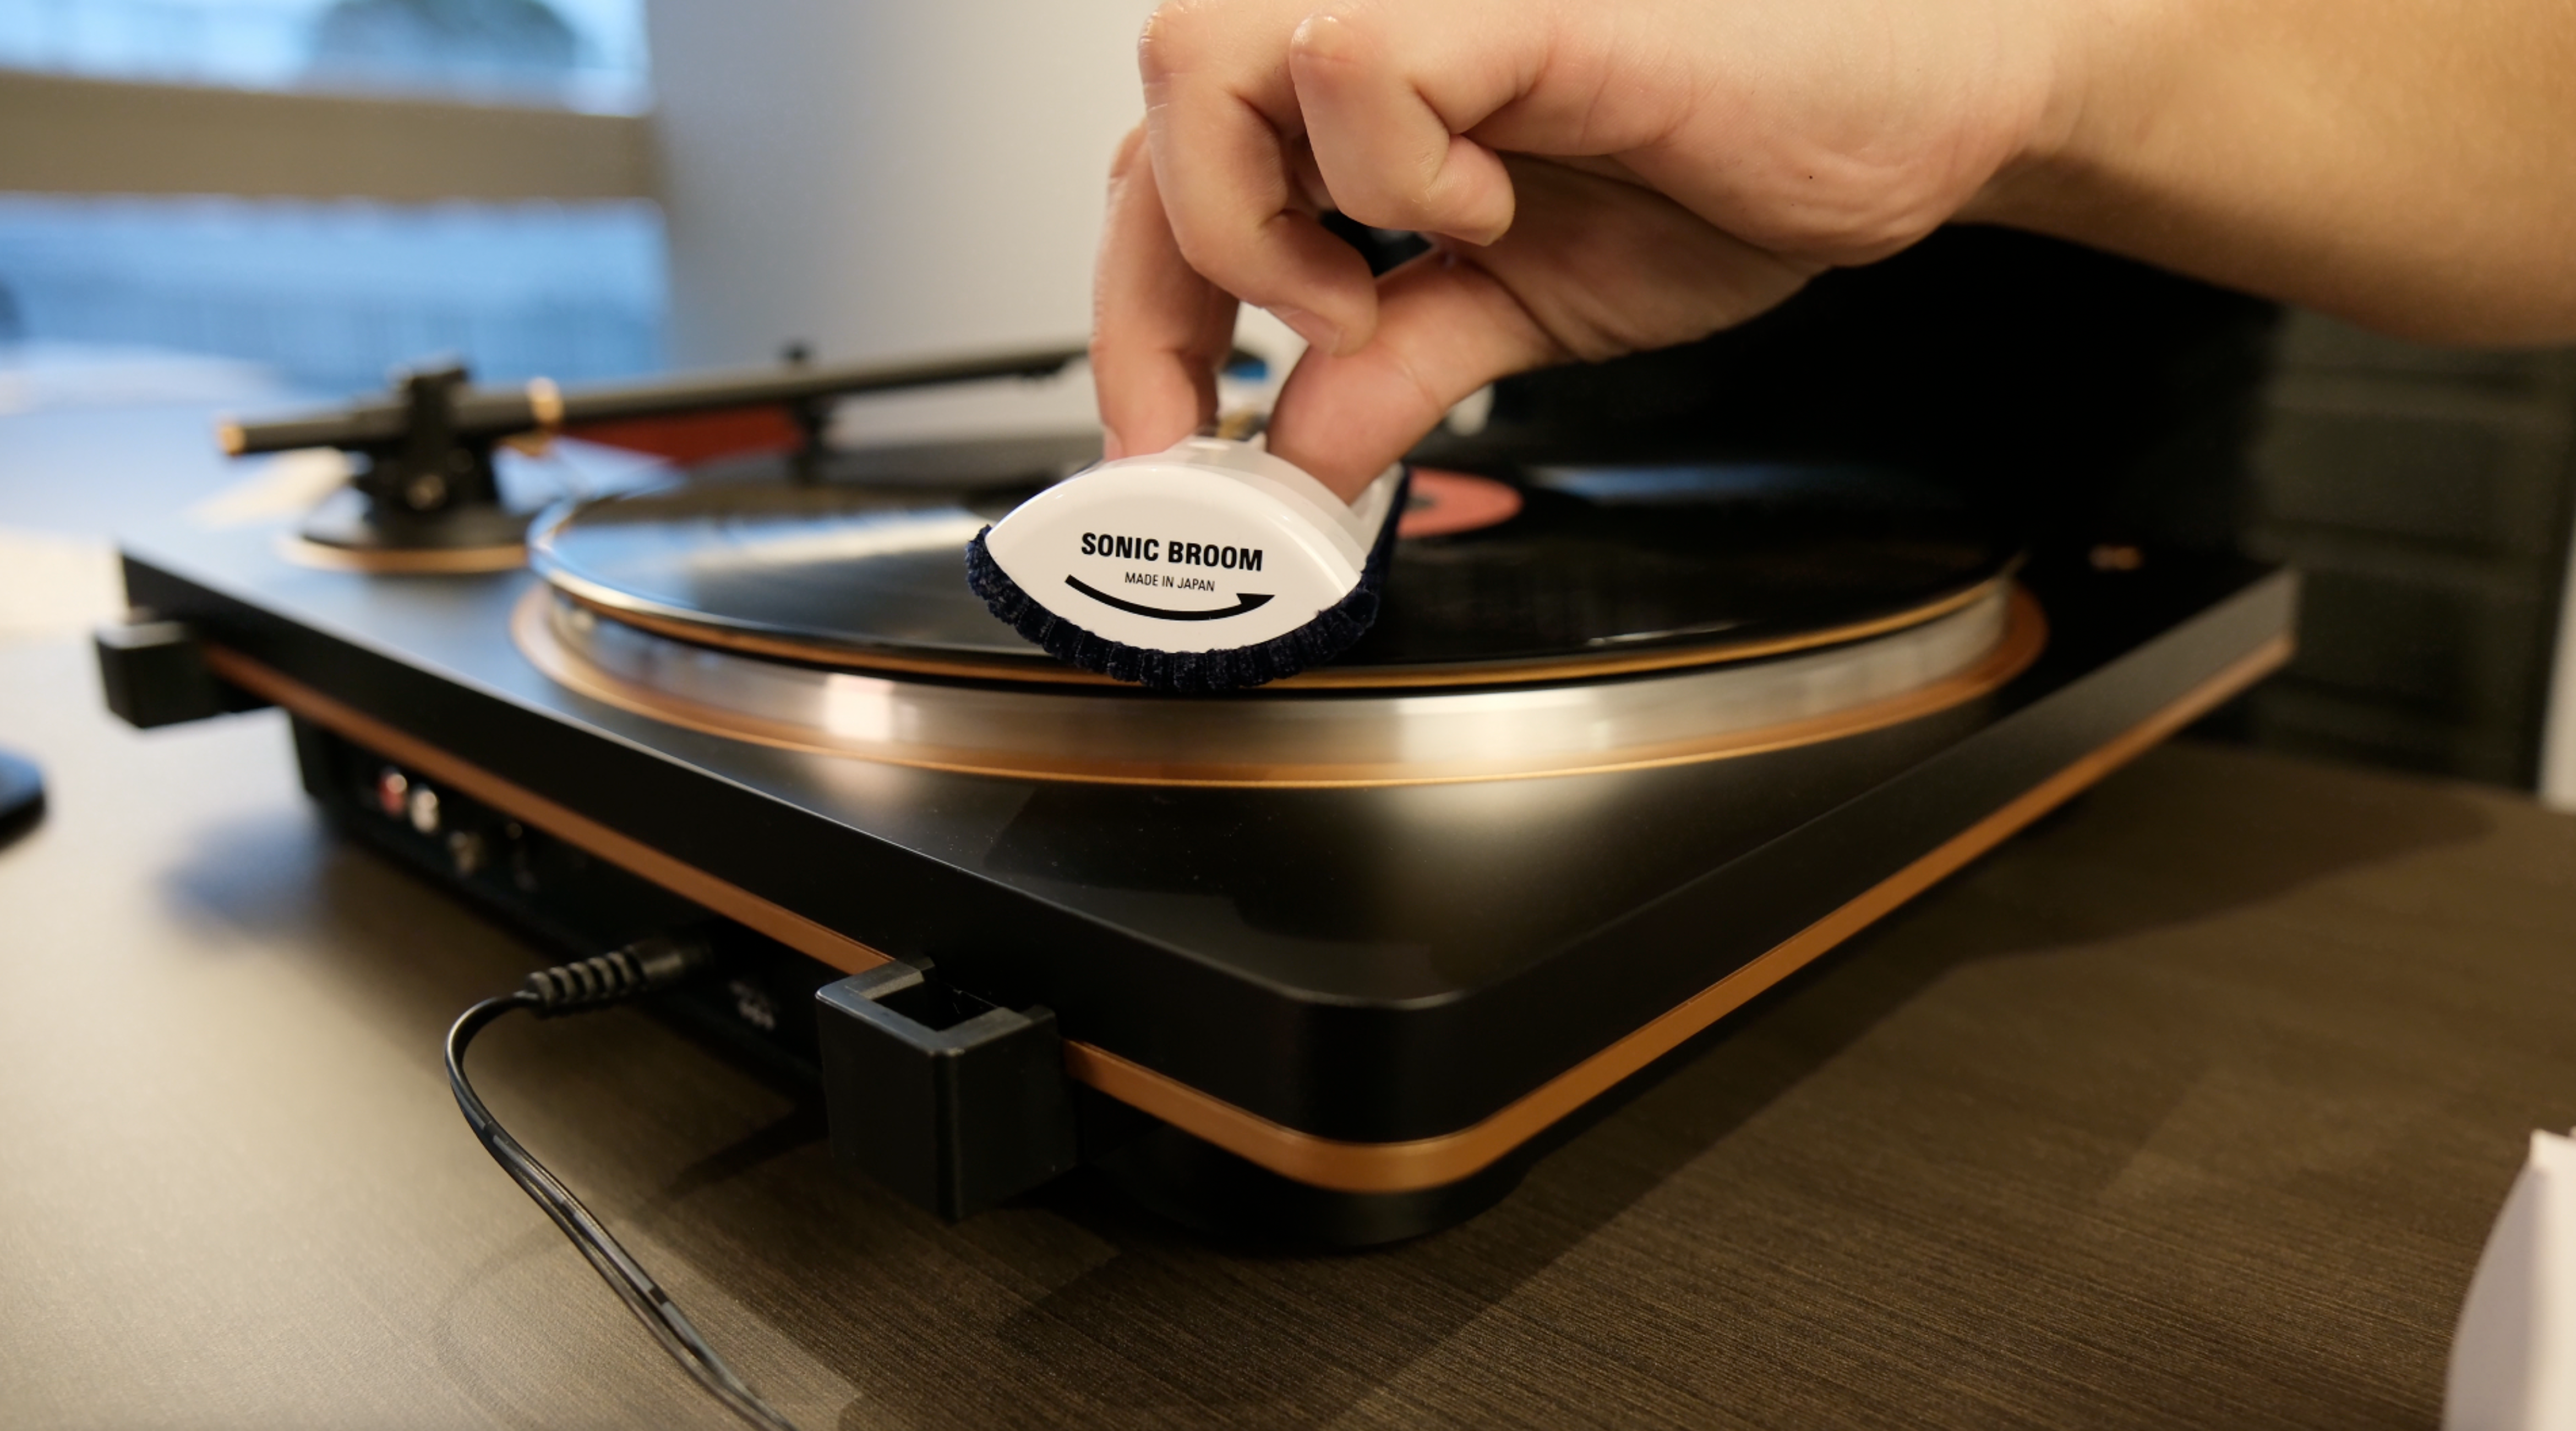
#2 Antistatic Record Brush
Clear loose particles from your record
Even clean records, when exposed, will gather dust in short order. So we always want to pass a dry record brush over the record before playing to clear loose particles.
Most record brushes work fine for this; usually they have stiff bristles that push into the grooves and drag dust up and out. Audio-Technica have improved on this a little bit with their Antistatic Record Brush by adding a layer of fine bristles in between two layers of stiff ones. Think of it like a broom. The stiff bristles really grab but they miss particles that pass in-between them. Then the fine bristles come in behind to fill in the gaps and agitate whatever was missed. And then another round of stiff bristles drags the rest out of the groove.
Using one of these is similar to the wet brush. You’ll have your record on the platter spinning, and then place the brush with the same slight pressure perpendicular, and in towards the label. You don’t want the pressure to slow the spinning. Gradually move from the inside to the outside edge, following right through until the brush comes off the end.
When to do this: Every time you play a record you’ll want to give it a dry brush before putting the stylus on.
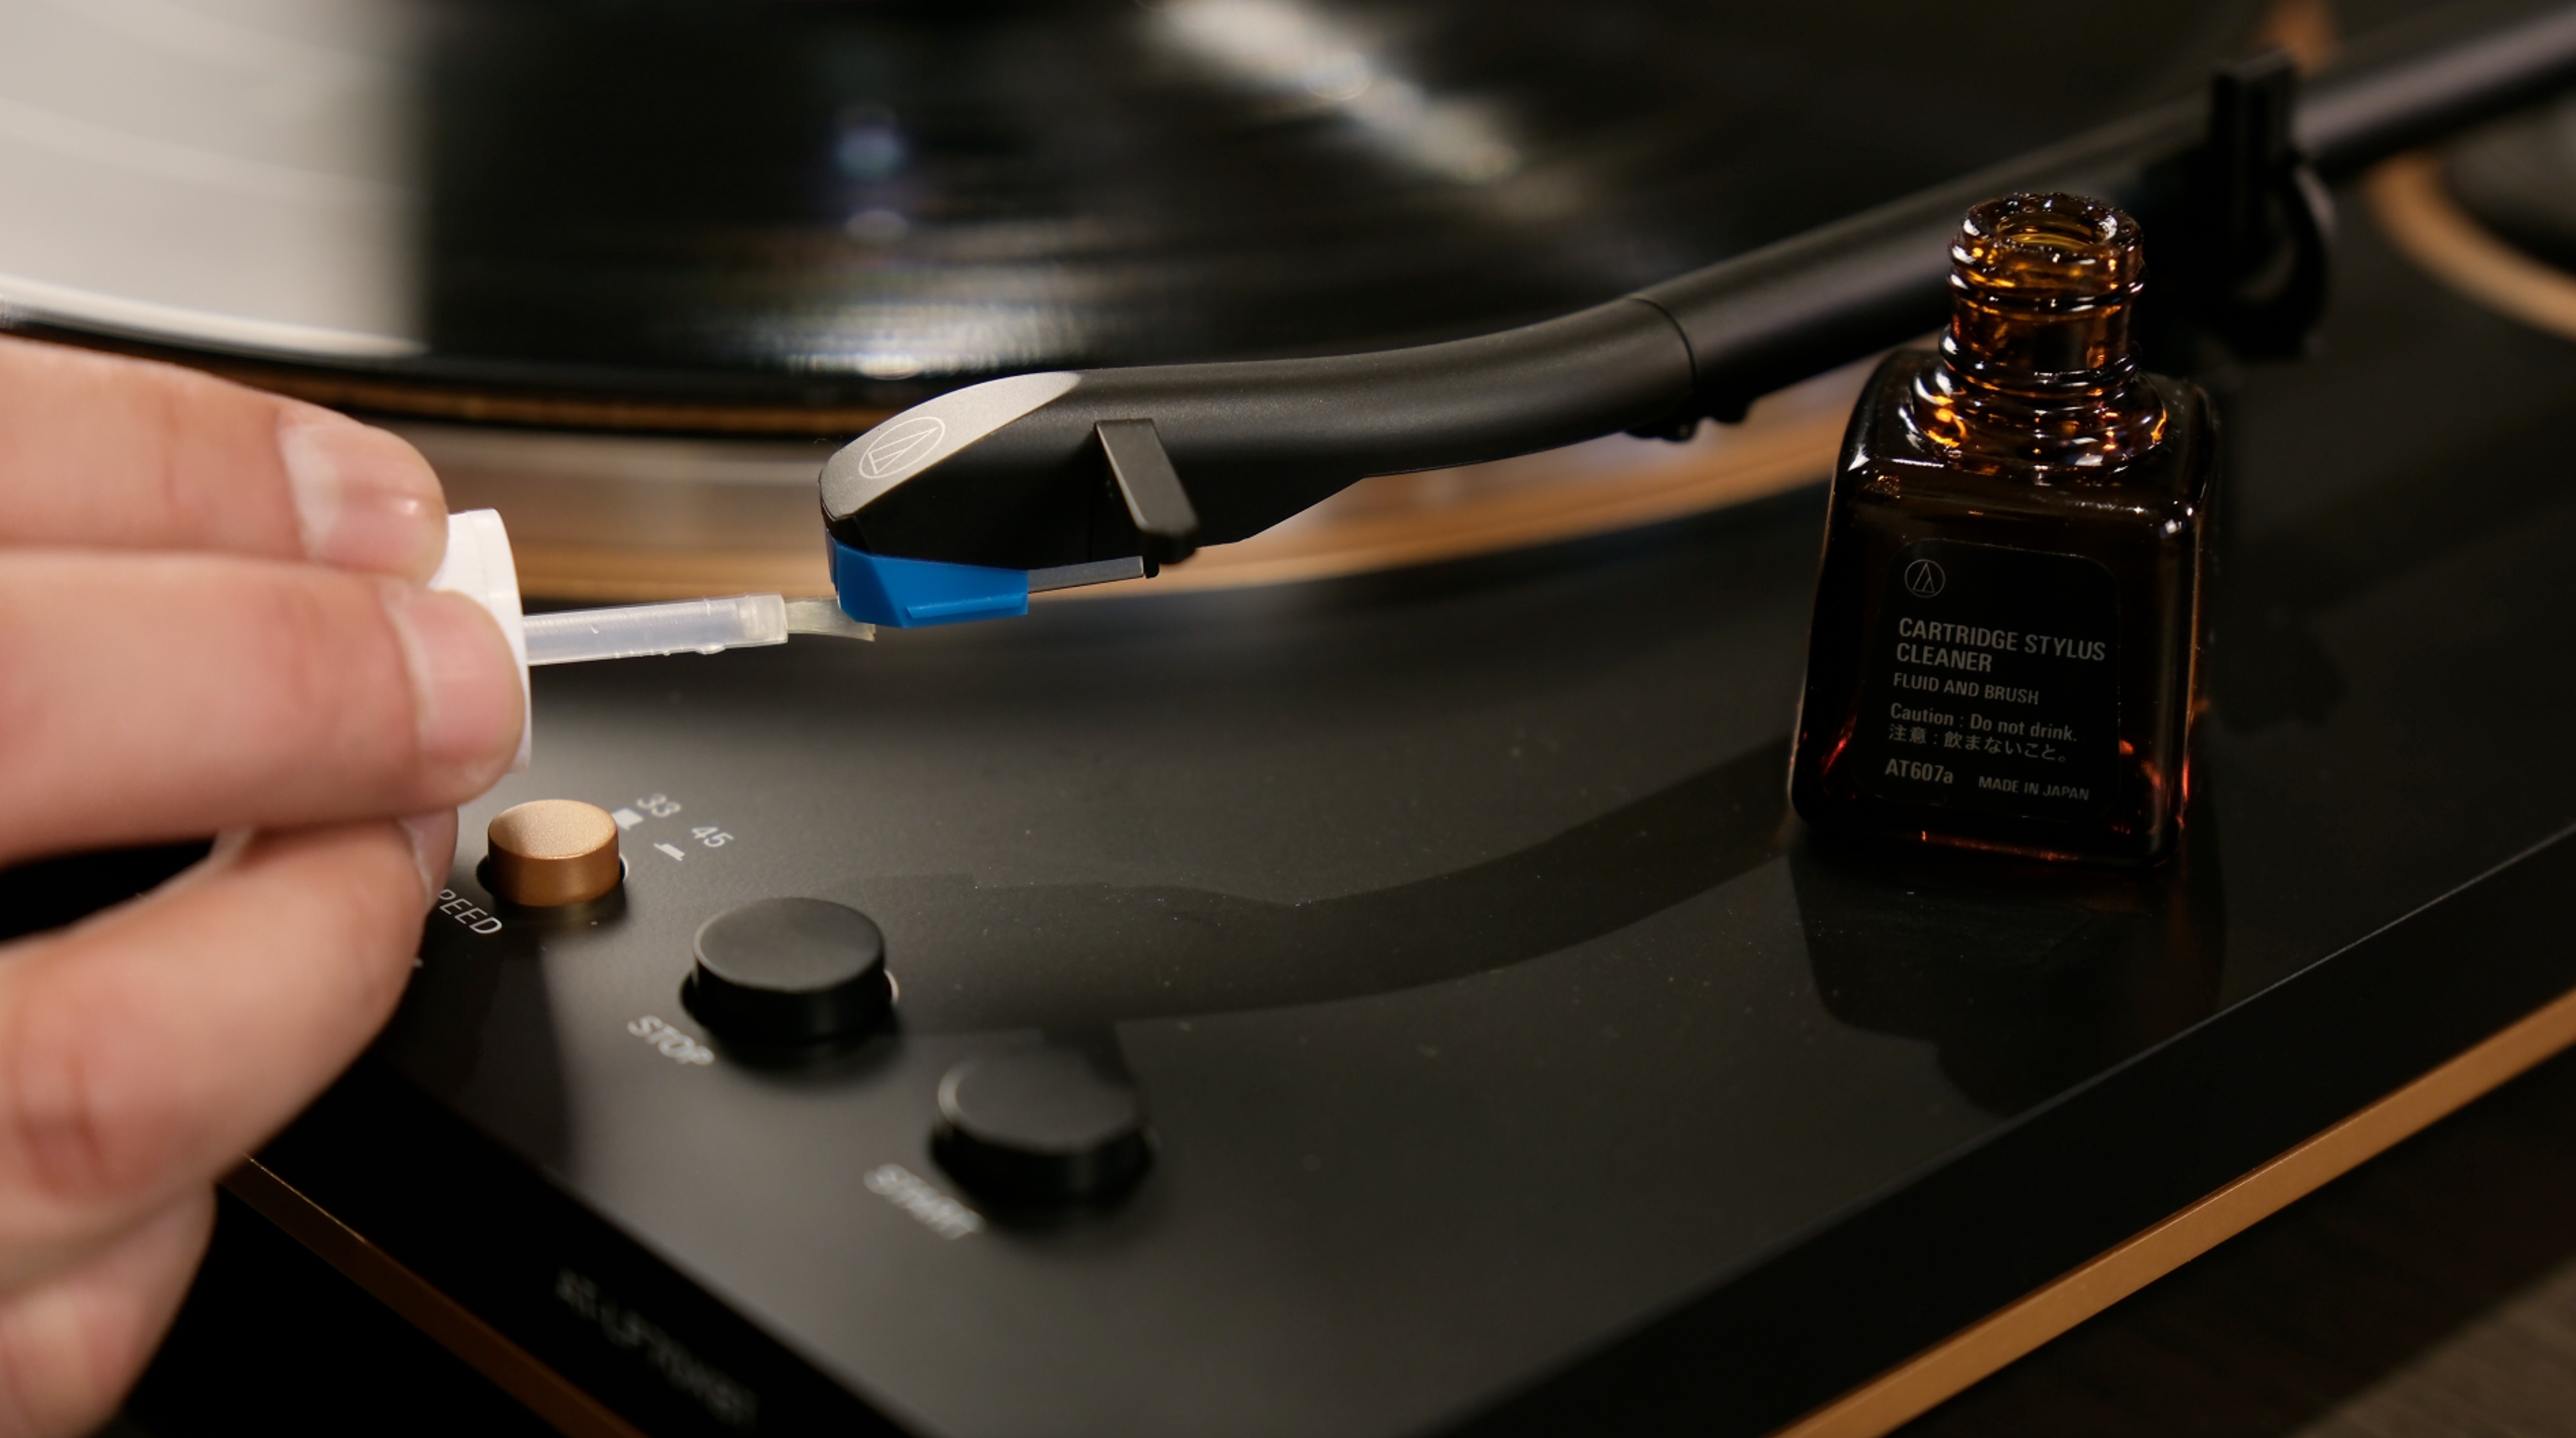
#3 Cartridge Stylus Cleaner
Clean stuck-on bits off of your stylus
Inevitably, some particles will stick to your stylus. This colours the sound dramatically, causing consistent distortion—and it threatens to damage your stylus by causing uneven pressure.
The solution is to use a stylus cleaning solution with a tiny brush. There are quite a few inventions out there tackling this problem, but we’ve found this is the most affordable and effective way—many of the others actually require additional cleaning of the tool itself. We’ve found the brush is zero maintenance, and the solution works well to loosen and pull stuck-on bits off of the stylus.
You must be careful with this one: ALWAYS brush your stylus from back to front! Apply pressure the other way can damage the cartridge. Think of it like riding up hill. You’ll start at the back of the stylus and the brush will move towards the front, traveling up the slope.
The brush shouldn’t be dripping wet—damp will do. Two passes is enough to clear things up.
When to do this: As with wet cleaning the record, wet brushing the stylus isn’t required every time. We recommend doing this once a week, or maybe every 7-10 records you put on.

#4 Pro-Ject Clean It stylus brush
Clear loose particles from your stylus
If you’ve read everything so far, you can guess what happens here.
You may clean stuck-on particles from the stylus intermittently, but you’ll definitely want to at least pass a dry stylus brush over it every time. Tenacious is dust, the bully of record grooves!
The Pro-Ject Clean It stylus brush is a fine tool for the job. It has gentle bristles which are long enough that the plastic base won't come near the stylus, so there's no risk of dinging and damaging it.
Again, ALWAYS pass the dry brush over the stylus from back to front, or “up hill.” Make two passes to guarantee results.
When to do this: Every time you put a new record on it's worth giving the stylus a brush in case there are loose particles. If you don't have a dry brush handy, just eyeball the stylus and, if you see anything, use the wet brush.
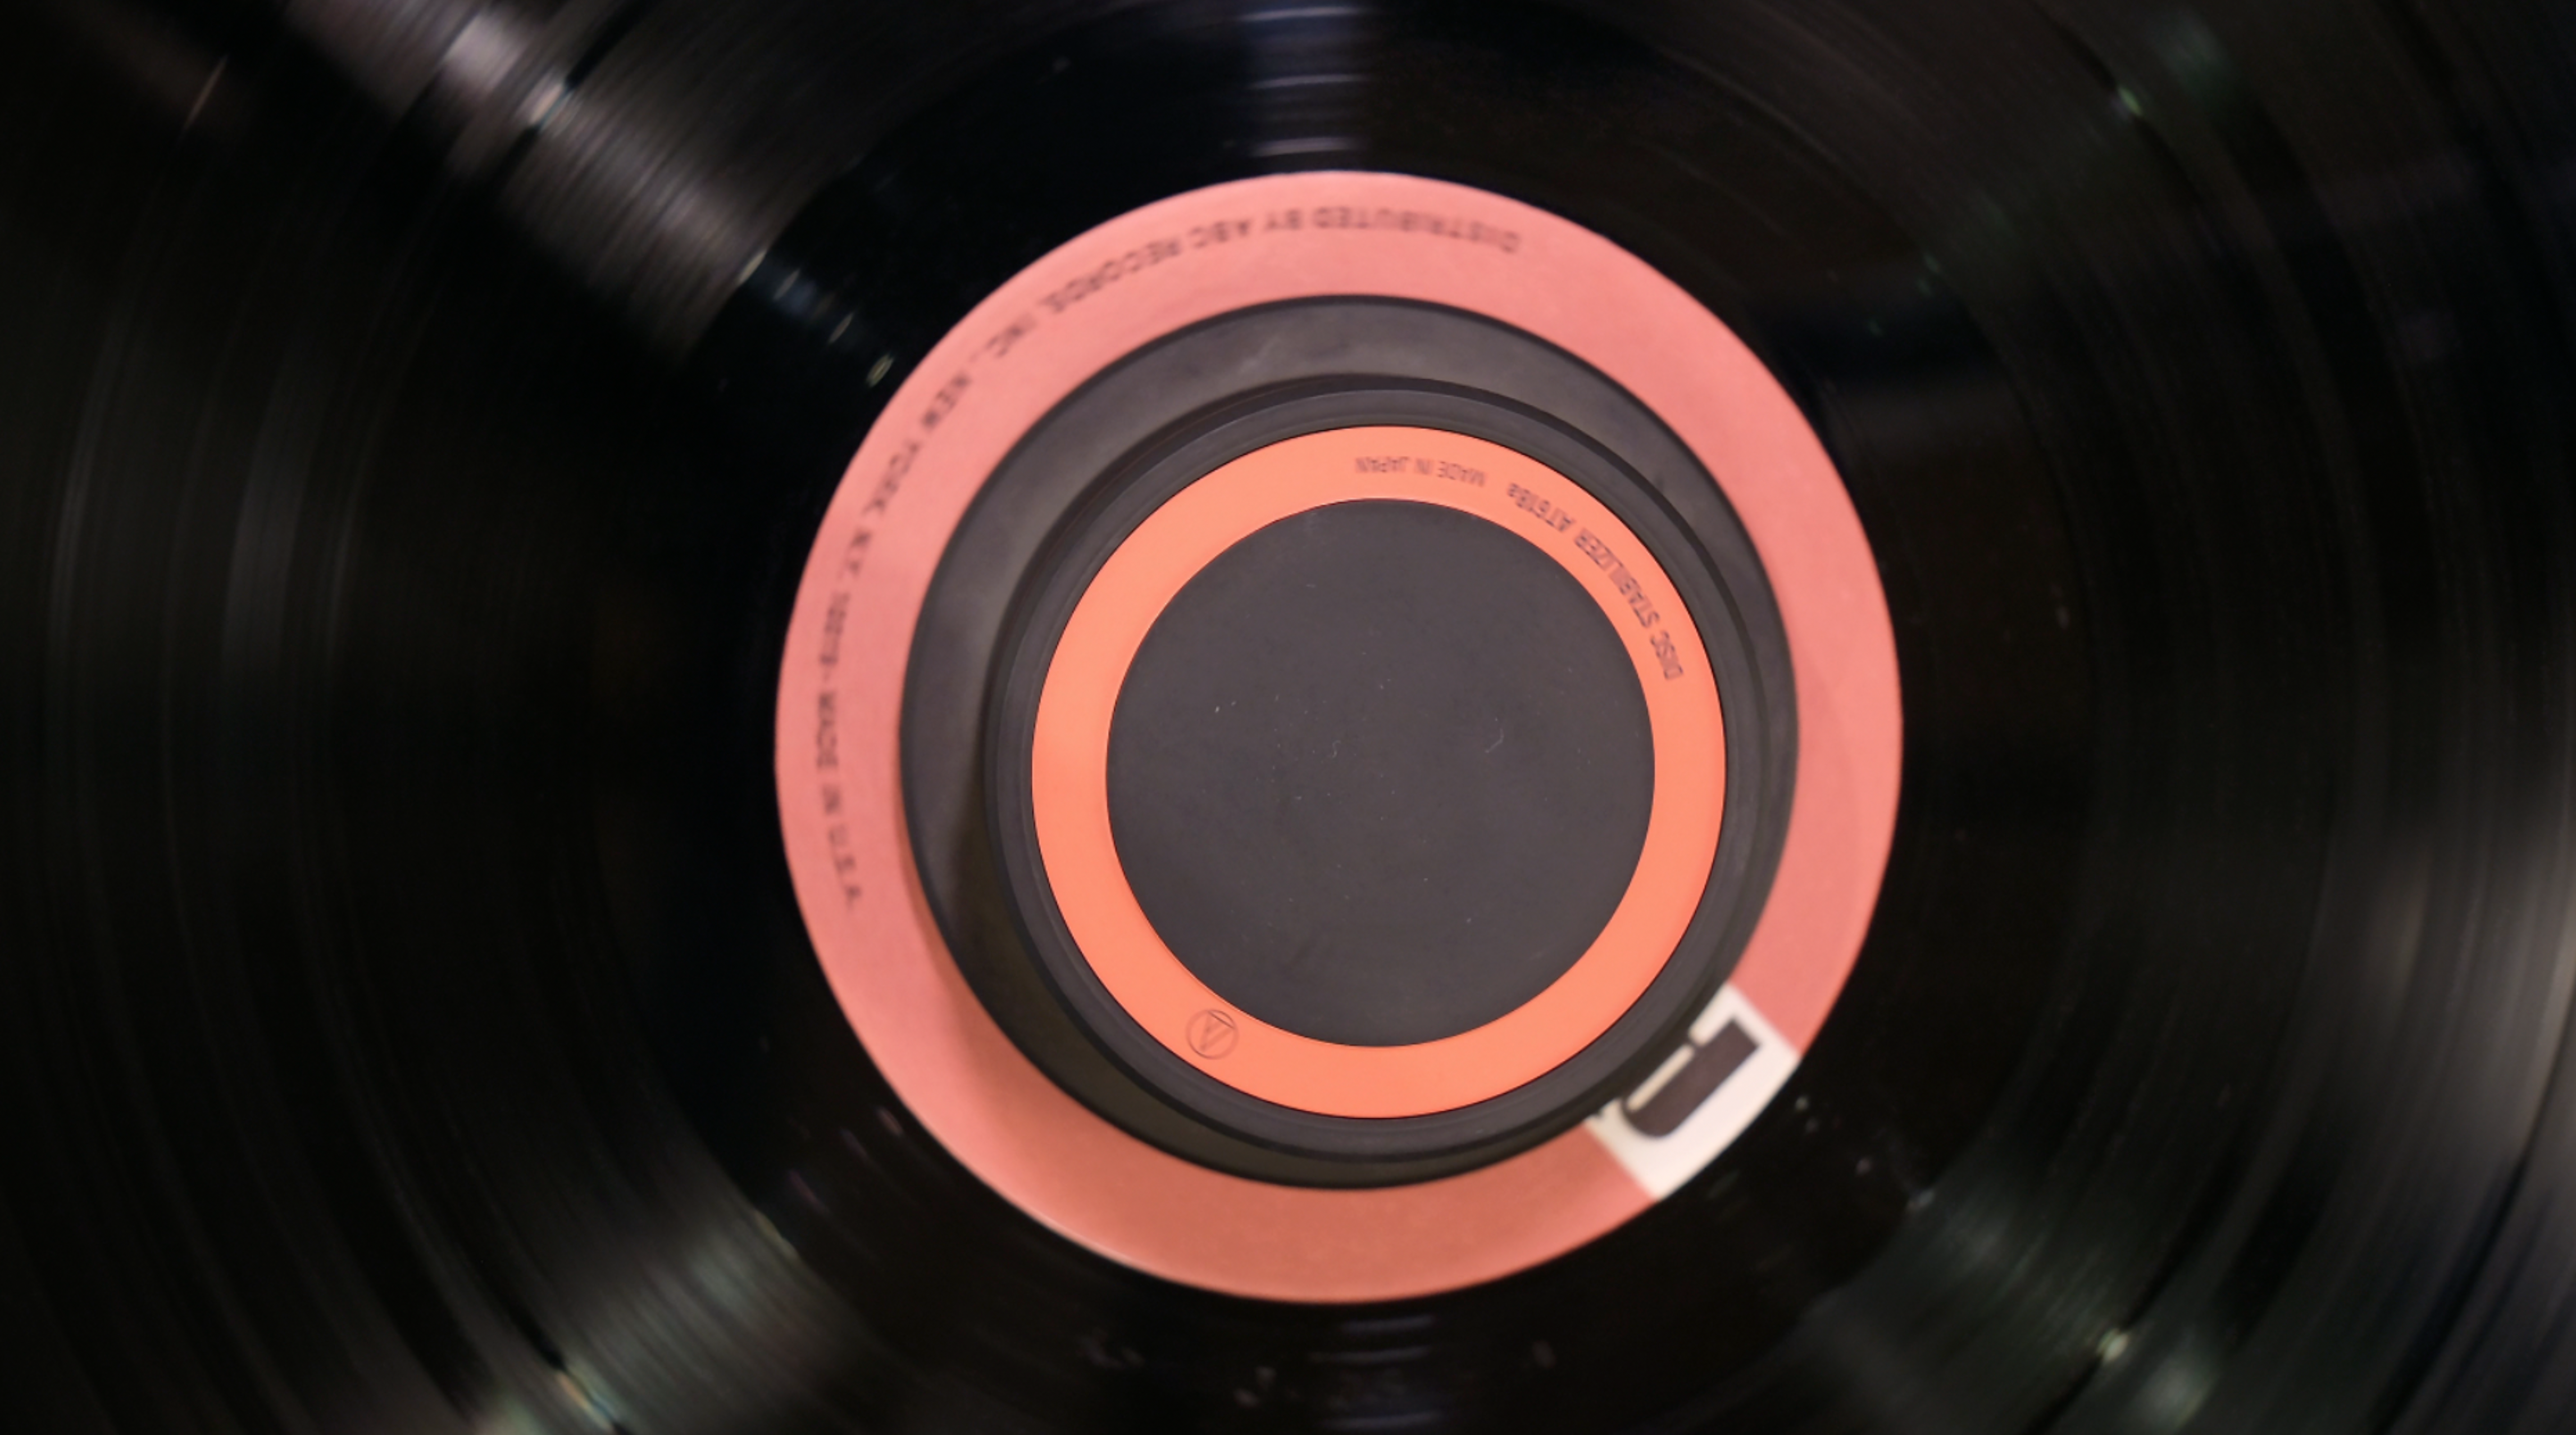
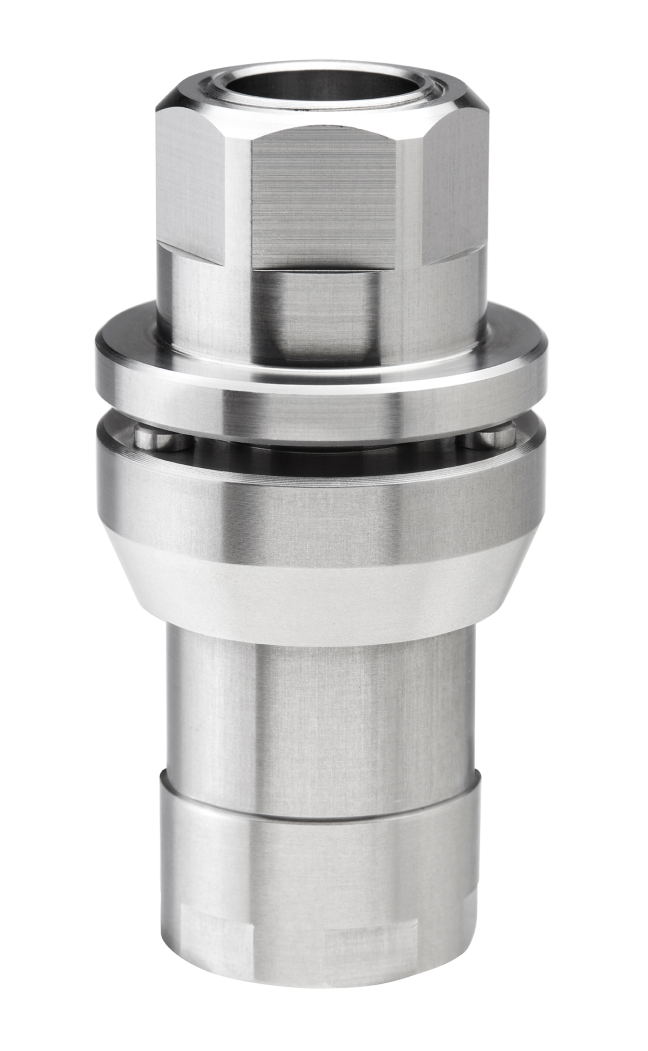
#5 Disc Stabiliser
Dampen your record during play for a big sound quality boost
Often, adding something to your music system to improve sound quality is a subjective affair. Some quality of your music sounds slightly better—like details with tighter edges, or a soundstage that’s more open—but if you were to measure the difference with a microphone and look at a plot, it would be hard to spot.
This is not the case when you add a record stabiliser to your turntable.
That’s because all turntables face “wow and flutter.” This describes variations in the speed of the stylus as it tracks the groove, which causes small variations in pitch. A high-end deck will minimize wow and flutter to inaudible levels—while in most retail models, it remains a challenge.
Wow and flutter is easy to measure. We use a smartphone app called Turntable Speed in the shop, where you literally place your phone on the platter as it’s spinning, so the accelerometer inside can detect variations in speed.
To combat wow and flutter, we strongly recommend investing in a record stabiliser like the Audio-Technica Disc Stabiliser. It’s essentially nicely-machined and balanced weight that fits perfectly on your deck’s spindle. This extra mass stabilises the platter as it spins—and when you run a before-and-after test with Turntable Speed, you can immediately see the difference. (And you’ll hear it, too!)
If you’ve invested in a turntable, getting a record stabiliser is a no-brainer. It’s one of the rare sound quality upgrades that gives you a measurable improvement at a relatively small cost. (And it bumps up the aesthetic of your deck as well.)
That about sums it up…
If you’d like to assemble your own minimalist, efficient record care kit, the items we recommend are linked in the sections above. For best results, be sure to follow the guidelines above. They’re the same steps we use ourselves when enjoying vinyl at home.
As always, happy listening!
Before you go – we've got an exclusive offer just for you!
Buy any 2 products from our Top 5 Vinyl Care recommendations and save 10%, plus enjoy free shipping Australia-wide. Just add your chosen items to the cart and use code TOP5VINYLCARE at checkout to apply the discount.
Video
See below for more of our HiFi Tips & Tricks
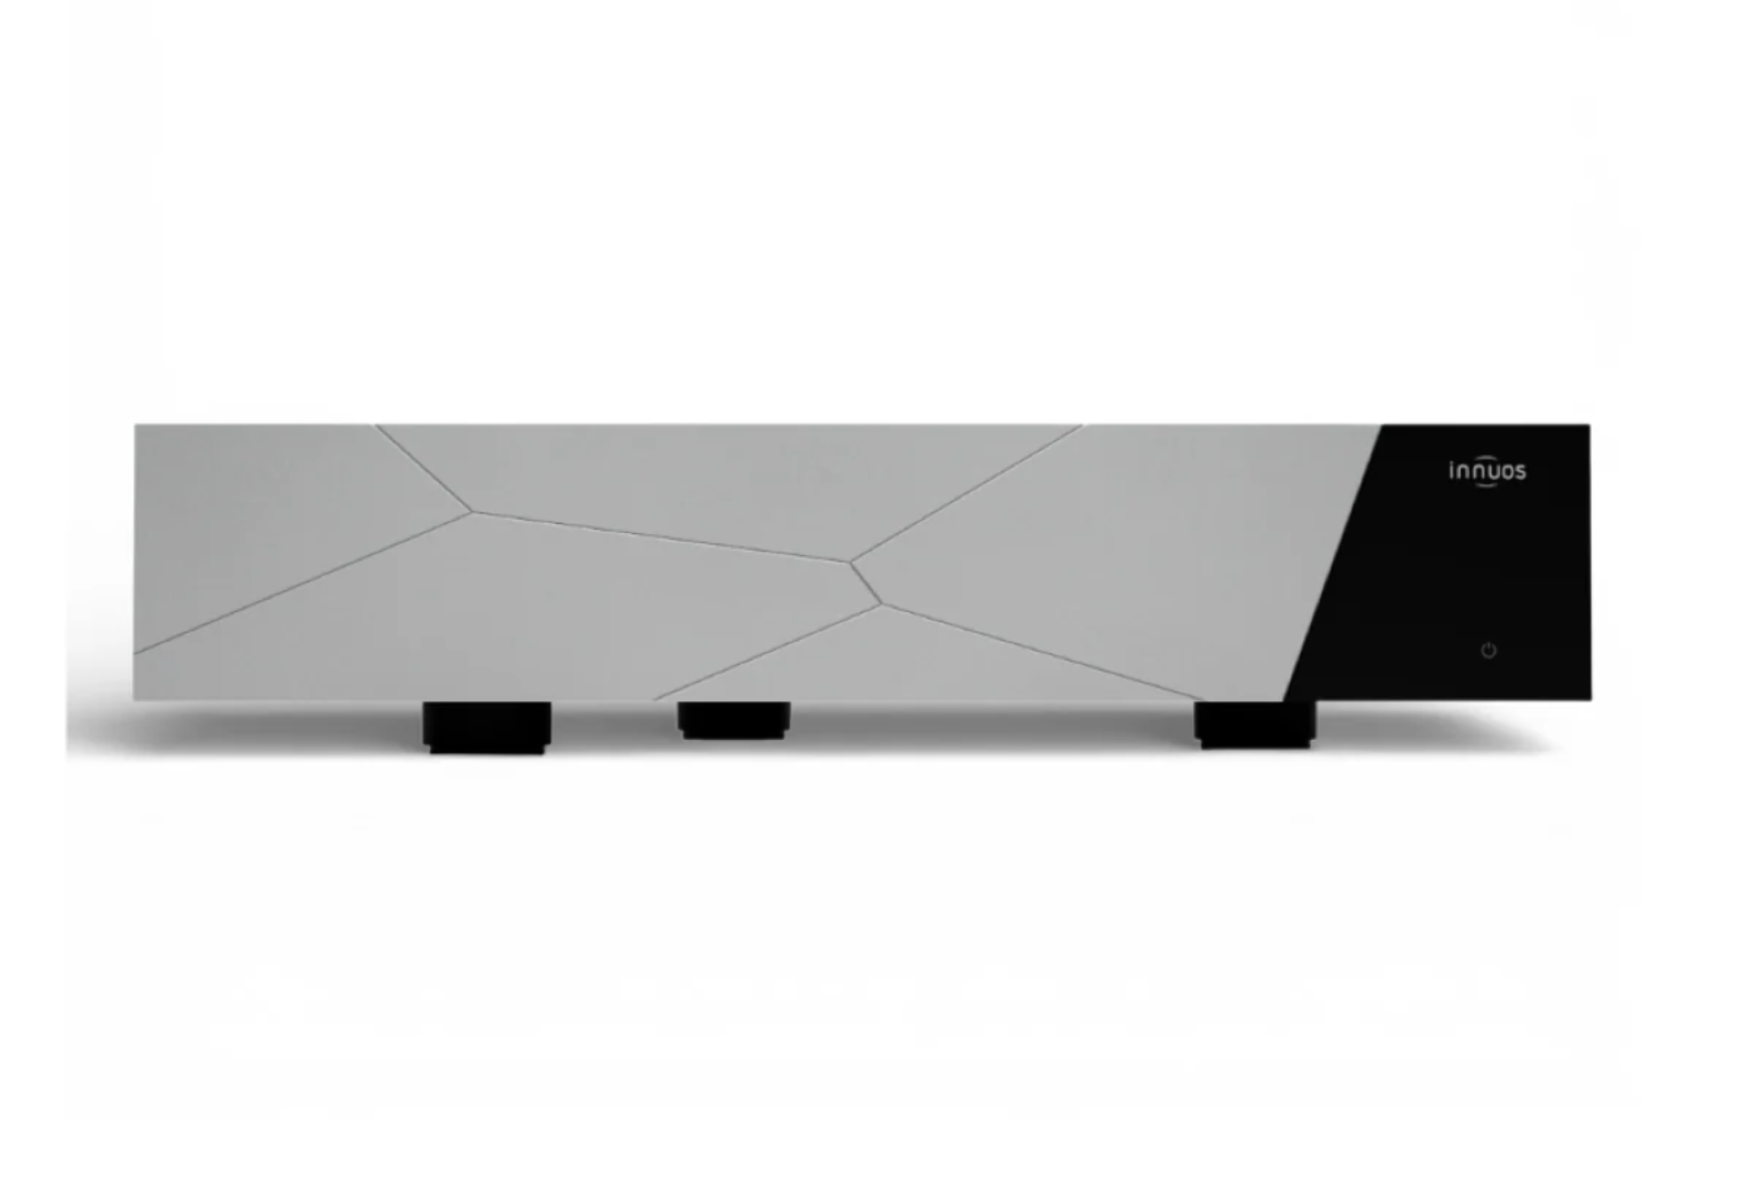
Innuos Stream3 review: Swiss watch accurate, Swiss Army knife versatile
There’s a salient difference between an audio product made to fit a market, a price point, a volume target… versus one made by passionate engineers, intent solely on producing absolute quality. For...

Active vs. passive speakers: Which is better?
What's the difference between active and passive speakers? The short answer is active speakers have amps inside and passive speakers require external ones... ...however the nuances are important, b...

Affordable bookshelf speaker standoff: KEF Q Concerto Meta vs. Acoustic Energy AE500
The bread and butter hi-fi product is the affordable bookshelf speaker… Friendly to budget, it doesn’t ask too much of one’s hard-earned cash. Appropriate for smaller spaces, it’s ideal for a broad...
Offer ends 31 August 2026
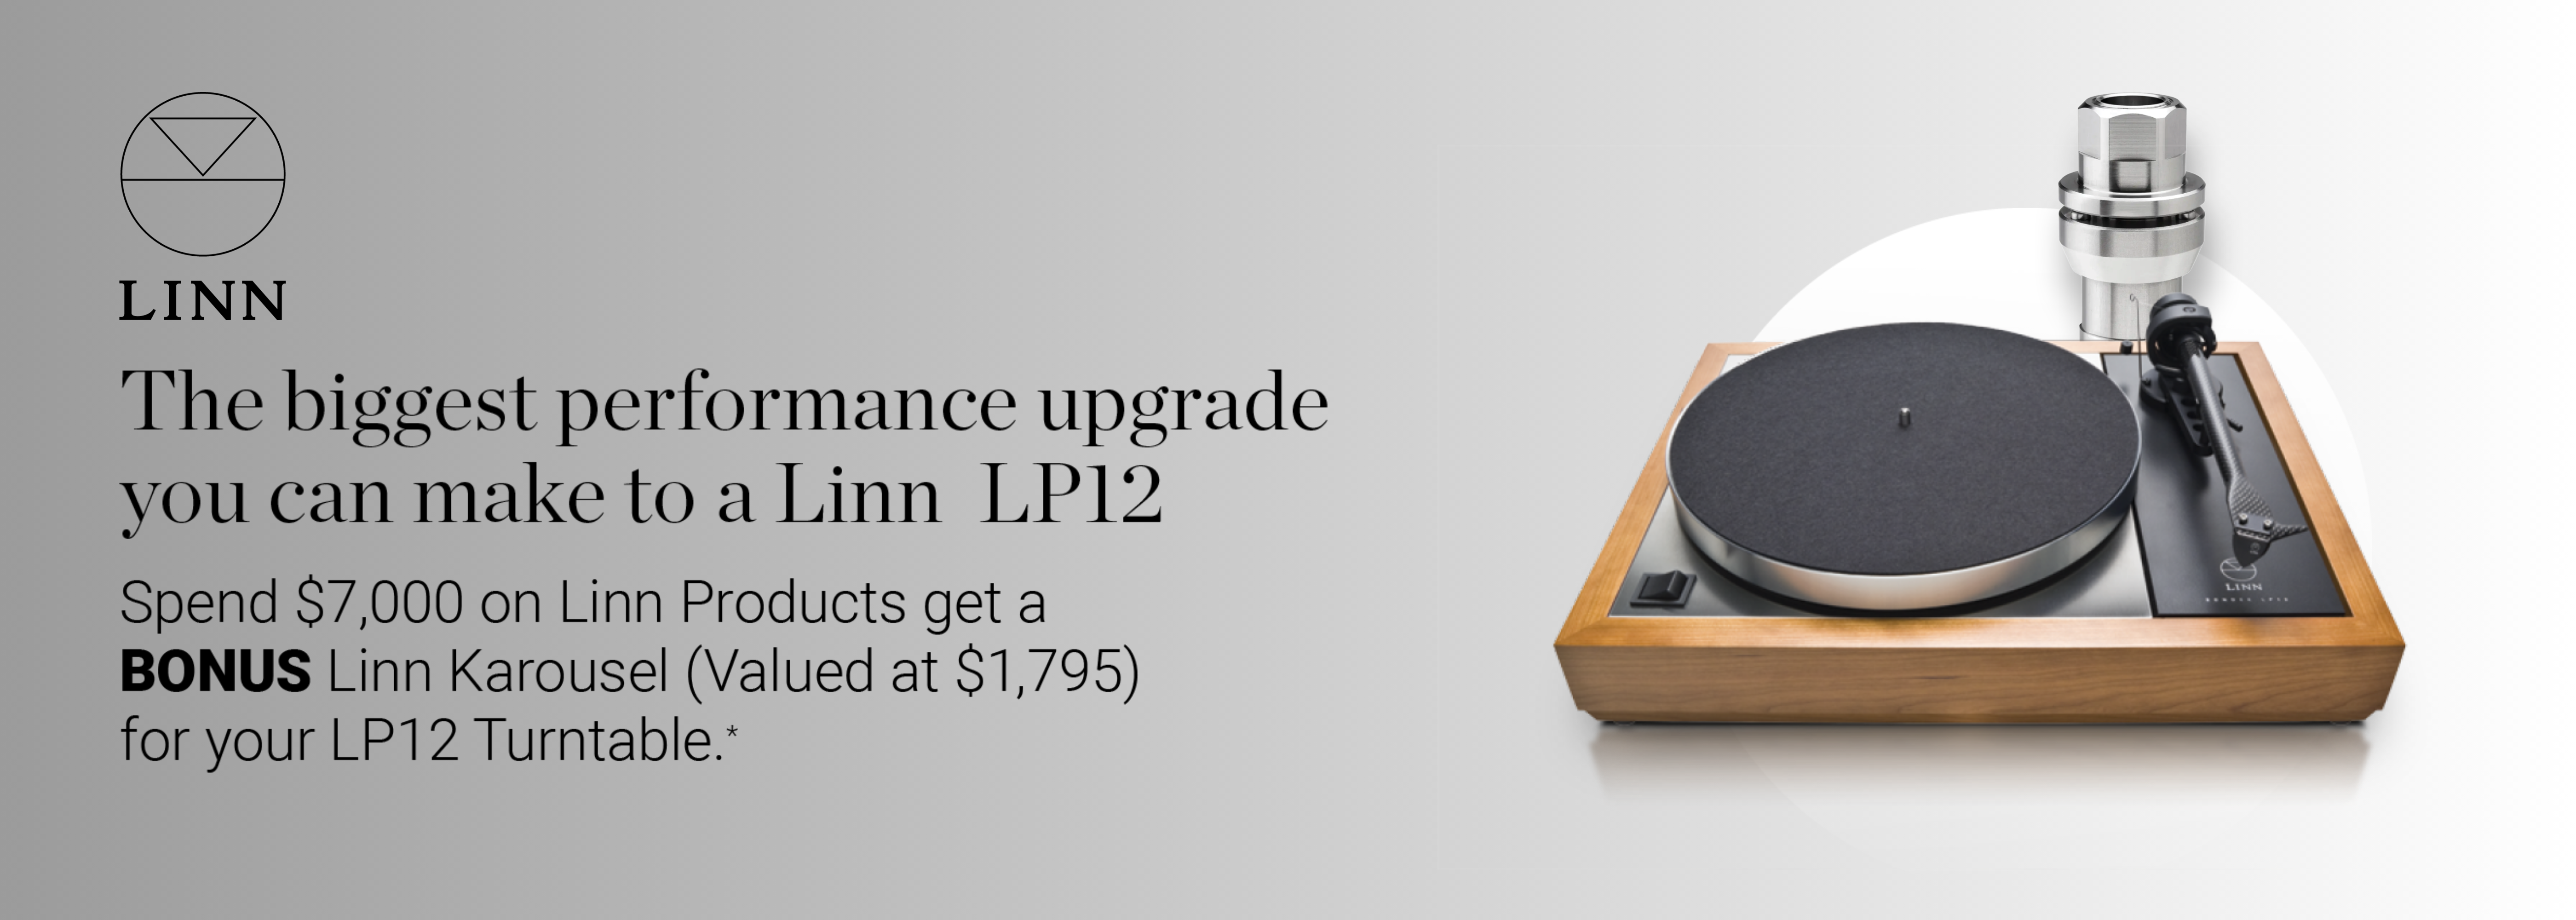
The biggest performance upgrade you can make to your Linn LP12
Spend $7,000 on Linn Products and get a BONUS Linn Karousel (Valued at $1,795) for your LP12 Turntable (Pre 2021 models). Already have the Karousel or don't have an LP12? Then we'd be happy to take the value of the Karousel ($1795) off your new Linn purchase.
FREE Linn Karousel Upgrade
Between 1 July and 31 August 2026, purchase any Linn products totalling $7,000 or more in a single transaction and receive a FREE Linn Karousel part for your LP12, valued at $1,795.
The Karousel is widely regarded as the single biggest performance upgrade you can make to a Linn LP12. Take advantage of this offer when purchasing a new Linn Klimax DSM, upgrading to Linn speakers, or adding other LP12 upgrades and accessories.
Offer Conditions
- Spend $7,000 or more on any Linn products in a single transaction between 1 July and 31 August 2026 in a single transaction.
- Customers who already own an LP12 fitted with the Karousel bearing (standard on most LP12 turntables supplied from 2021 onwards) are eligible to receive an alternative bonus of equal value.
- Installation included at Audio Connection.