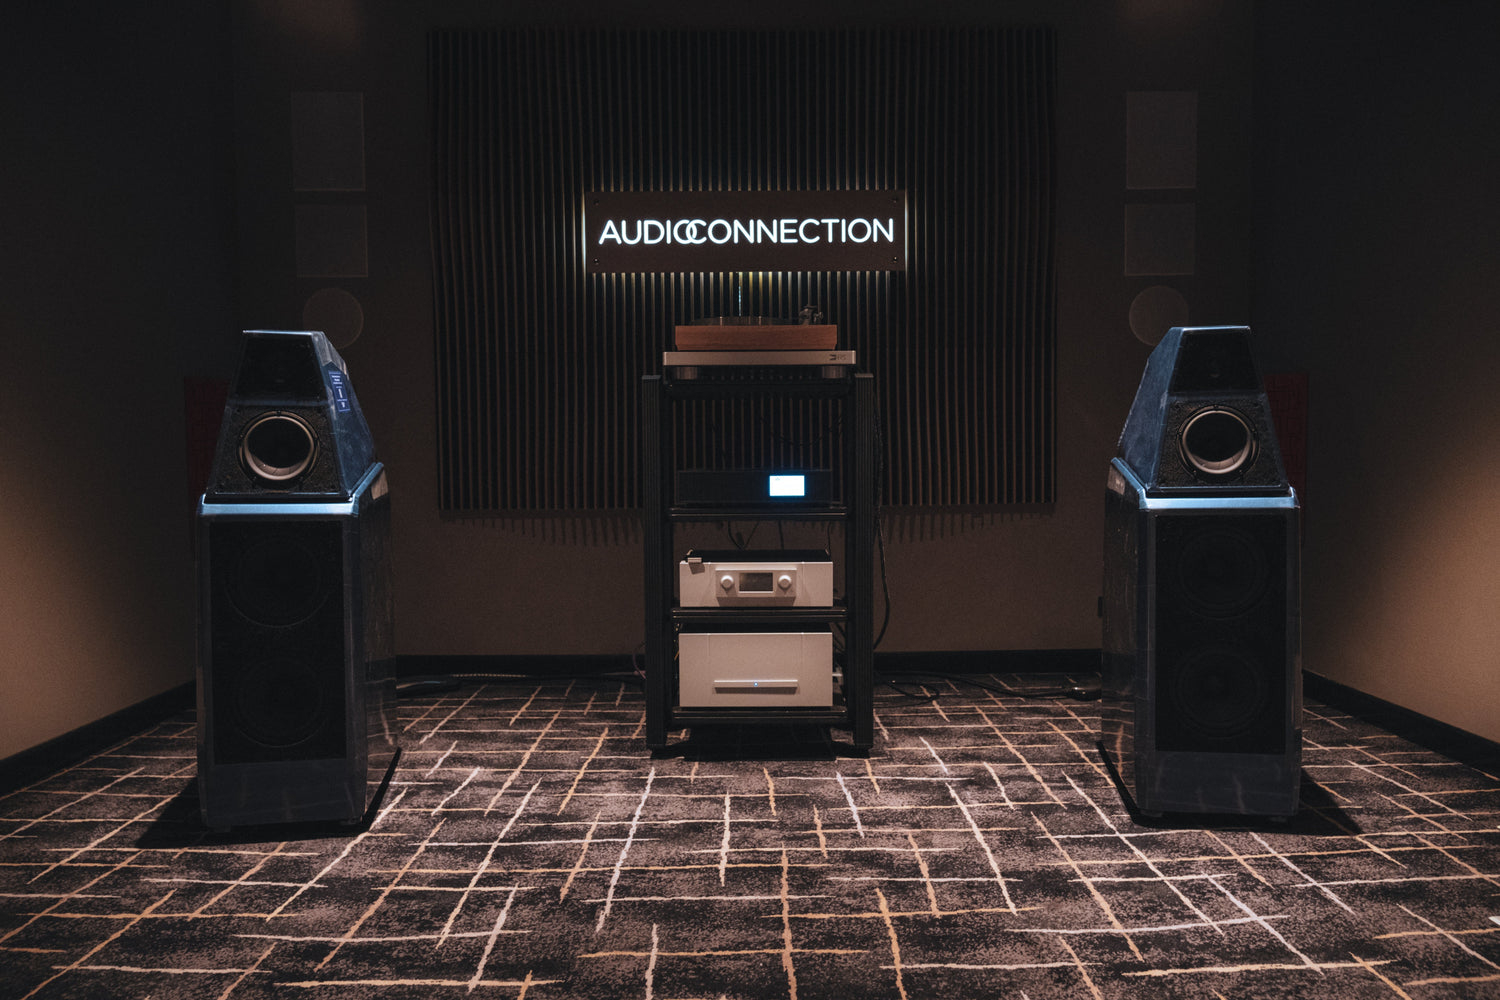
If you invest in a good audio system, you want to make the most of it.
Fewer things are more tragic for us than helping a client find their dream speakers in our showroom, and then discovering when they took them home, they positioned them “right about there” and were done with it.
Often they call in, wondering why they don’t sound as good as they did in the shop. One of us rides over and immediately discovers the below advice was ignored.
So take heed of the following process and apply it…otherwise you might not be getting what you paid for!
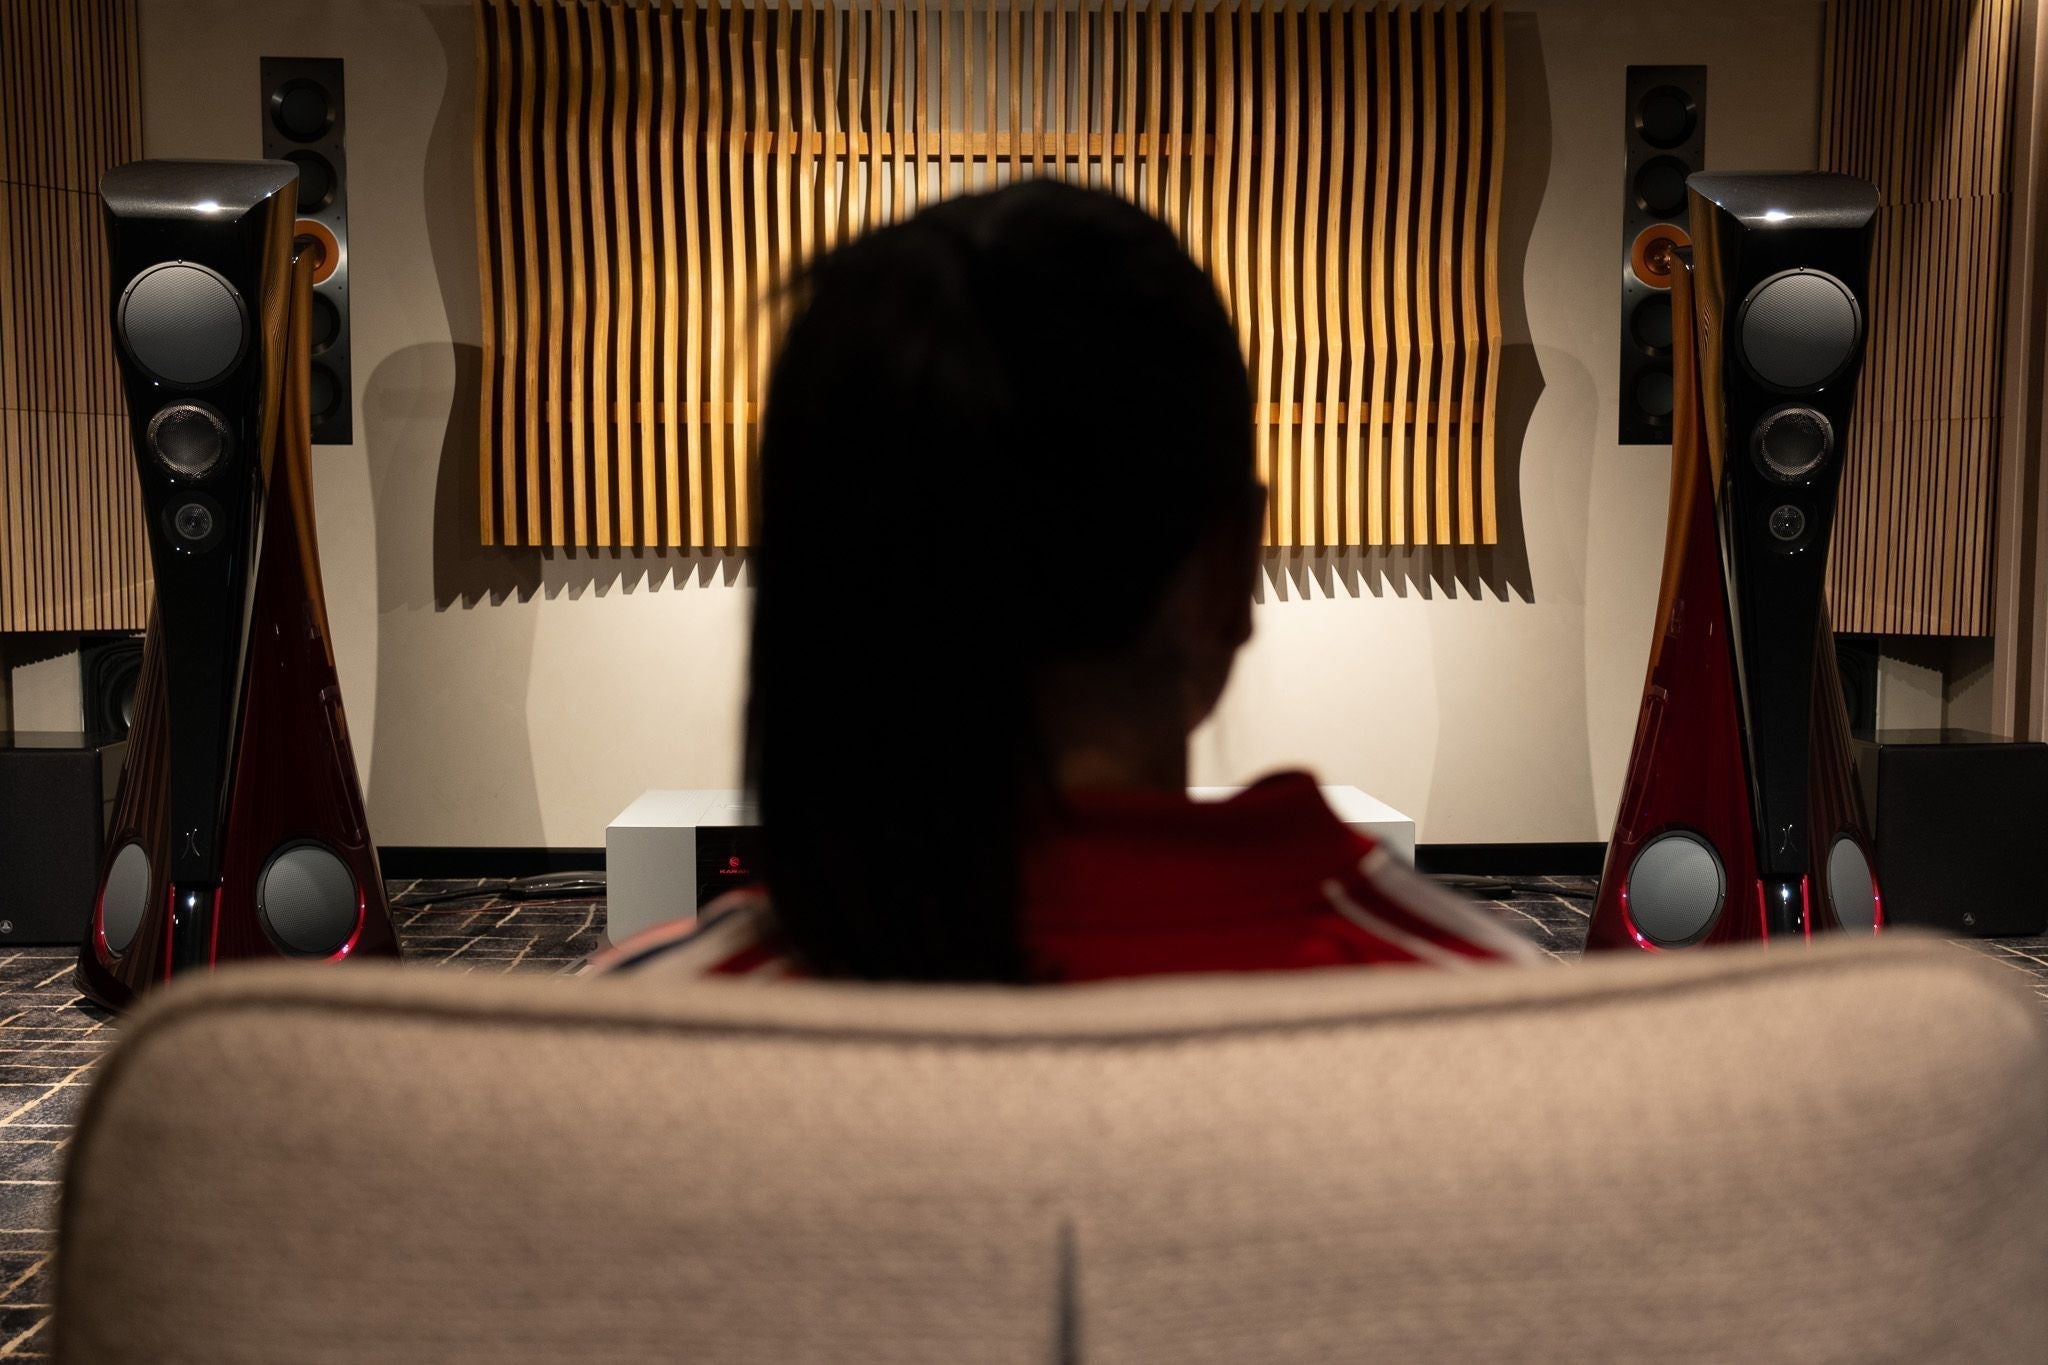
Now first, in order to position speakers, you must have a sense of where you’ll do most of your listening.
We’ll call this your average listening position.
You might listen to your system while sitting somewhere else, or standing up, or minding a guest or an activity—that’s natural. But think of where you’ll sit if you want to pay full attention to your music.
This spot will inform how you apply the rest of this guide.
Speaker placement and positioning steps
1. Tweeters to ears.
High frequencies are directionally dependent. So in order to hear all the treble details your speakers produce, you’ll need the tweeters to be pointed roughly at your ears. Not necessarily perfectly, as some tweeter designs will disperse sound more than others, but for sure they need to be close.
Floorstanding speakers are designed to have the tweeters at ear-level for someone sitting in a typical chair or sofa. Speaker stands are also designed so that the tweeters of most bookshelf speakers will be at ear-level.

However, if you’re placing bookshelf speakers on some other surface—like a desk or whatever—you’ll want to make sure the tweeters are either at ear-level, or tilted to point roughly towards your ears. Desktop speaker stands and desk pads are useful for this.
If you’d like to mount your speakers higher up on a wall or place them lower down on a bench, you should tilt them vertically so again, the tweeters are pointed to ear-level at your average listening position. For instance, if they’re sitting down low, you might place risers of some kind under the front of each speaker to angle them upward.
2. Be the third point of a triangle.
The magic of stereo is that two speakers can paint a vivid, three-dimensional picture for your ears. As far as your ears are concerned, an entire band can be placed in various positions at the front of your room from just two sources of sound.
In order for this to work properly however, your speakers need to be placed as closely as possible in an isosceles triangle setup. Isosceles means two sides are of the same length. The distance between your average listening position and each speaker must be the same, and when you face forward, you want to be looking at the midpoint between the two.

If for any reason this isn’t feasible in your room, you’ll want to get as close as possible to it. Don’t deviate too much—that will easily spoil the stereo effect—and in fact, it might be worth rearranging things to get this as close as possible.
3. Keep ‘em away from walls.
Low frequencies are not so directionally dependent, and in fact bass up to around 100–300 Hz disperses from most speakers in all directions. This includes wrapping around the speakers and firing backwards. So when speakers are backed up against a wall, the bass response can become boomy and smeared—especially at higher volumes.
Positioning speakers too close to side walls also causes this effect, and to a wider range of frequencies. Plus, side walls will affect what’s called “early reflections.” This is where midrange sound (which has a wider radiation pattern) reflects off the wall earlier than the engineers intended, which can disrupt the soundstage.
Thus, for most full-range home audio speakers, it’s important to make sure there’s space between the back and sides of the speakers and any nearby walls. This immediately improves sound quality—and yet it’s the most common mistake when it comes to speaker placement. While it may seem less tidy to have the speakers out in the room at first, it’s easy to get used to. And if music matters to you, it’s worth it.
(It’s also worth noting that some speakers are designed to sit right up against walls—even mounted to walls or in corners—as they’re tuned to avoid the negative effects. If you suspect this may be the case for your speakers, check with your specialist if you bought in store, and with the manufacturer if you bought online.)
How far away from the walls? What follows is an approach learned from Wilson Audio, one of the most well-known high-end loudspeaker brands on Earth.
Stand roughly where you want to put a speaker and have your back against the wall. Start counting aloud and notice how you can hear your voice bouncing off the wall behind you. Walk forward slowly as you speak and stop when you no longer hear it. Mark the floor at your toes with masking tape. Do this again from the side wall, if there is one.
Place the speaker so that its drivers are the same distance from the walls as the tape marks. Then repeat the process for the other speaker.
This is your starting point.
For a visual demonstration of the talking approach, check out our Instagram reel about it:
Note that in a highly reflective room, you might need to be quite far away from the wall for reverb to stop. If you feel like the speakers are just too far out into the room for your liking, you may be able to mitigate these reflections with acoustic treatment. Then you’d be able to place the speakers a bit closer without losing sound quality. This would involve putting acoustic curtains or panels that absorb some of the sound behind the speakers.
(To learn another method for finding the distance between a speaker and nearby walls, check out the speaker placement part of our Ultimate Beginner’s Guide.)
4. Toe in.
Toe in means rotating the speaker in place, along the horizontal plane, inward towards your average listening position.
Many people intuitively put speakers so they’re oriented perpendicularly to the wall, firing directly into the room. That’s a fine starting point, because many speakers have midrange drivers and tweeters that are optimised for no toe in (like all of KEF’s range).
Then from that starting point, you’ll listen, adjust, listen again, and…
5. Tune by ear.
Every step so far should have you 90% of the way there. But there are surprising improvements waiting behind small adjustments. So the best way to finish off is to tune by ear.
For this you’ll want to use a song that doesn’t have too much going on. Ideally an acoustic song with a single vocalist and simple instrumentals (like numbers 1, 2, 9 or 10 from our top test tracks). This allows you to listen for a natural and realistic sound.
First you’ll adjust the back wall spacing for bass response:
- Play about 30 seconds.
- Stop and move each speaker 5–10 cm further away the back wall.
- Listen again. Is the bass better, same or worse?
- If it’s better, keep it there. If it’s the same or worse, move it back to the starting position.
Next you’ll adjust the side wall spacing for midrange imaging:
- Play 30 seconds again.
- Then move each speaker another 5–10 cm away from its respective side wall (if there is a wall nearby).
- Listen again. Is the midrange image better, same or worse? (This includes most of the body of guitars, violins, saxophone, and vocals.)
- If it’s better, keep it there. If it’s the same or worse, move it back.
Finally, you’ll adjust the toe to optimise the soundstage:
- Play 30 seconds again.
- Then rotate each speaker a few degrees inward (left rotates counterclockwise, right rotates clockwise).
- Listen again. Is the overall stereo image better, same or worse? Pay attention to the song as a whole. For instance, does the vocalist sound like they’re behind the wall? Or do they sound like they’re right in front of you, in between the speakers?
- If it’s better or the same, try toeing them in even further and start again with step one. If it’s worse, rotate them back to the previous toe angle and leave them. Depending on the speakers, you might end up toeing them completely in to where each speaker is pointed directly at your average listening position. But only if they sound better like that!
That’s it. If you’ve done all that, you should be getting the best sound possible in your current room, at your average listening position.
Now let’s quickly run through some additional advice.
Bonus tip: Be sturdy.
So far we’ve discussed the location of your speakers, but what they’re placed on is very important as well.
As their drivers move, they induce vibrations in nearby furniture, which can then create additional unwanted sound. These vibrations can also transfer back into the speaker cabinet, which affects the sound coming from the speakers. This is especially true with bass and lower mids.
If this is happening, it’s a disaster to your sound. It steals energy away from the speakers and adds noise.
So make sure wherever you place your speakers, they’re on something solid.
Speaker stands are designed for this. They’re usually heavy, and even if they’re not too heavy, they usually have empty space inside where you can pour sand to give them more mass. This dampens any unwanted vibrations.
If you prefer to place your speakers on other furniture that’s fine, as long as it’s solid and doesn’t vibrate when the speakers are playing.
It’s worth noting that, for bookshelf speakers, placing them on an actual bookshelf is almost never a good idea. The shelf itself may vibrate, and the back of the shelf can cause a boomy bass response (because it’s essentially a wall, as discussed above). You can plug the bass reflex port if there is one, and recover a lot of the sound quality, but it’s unlikely to be as good as it would be if the speakers weren’t on a bookshelf.
Regarding these unwanted vibrations, besides placing the speakers on an existing solid surface, you can use speaker spikes and cups (which often come with speakers), isolation feet, or an isolation stand. These products decouple the speakers from the surface using friction, mass and/or absorbers. For ready-made options, check out IsoAcoustics.
On aesthetic compromise.
Looks matter. At least for most people they do, and that’s fair enough.
If you feel compelled to compromise on any of the advice above, go for it. Place your speakers on a bookshelf, move them a little closer to a wall, let one be further away than the other…
But just be sure to listen to it and compare it to the ideal setup I’ve outlined above.
At least try it. Because positioning makes a big difference and you might find it’s worth prioritising sound quality.
I recently towed my own speakers out a little bit because one day I leaned forward and realised the soundstage was so much better that way. (I previously had them toed completely in towards my ears.) This simple adjustment literally made me more excited to listen to my system over the days that followed because it sounded that much better.
If you’ve got yourself a good pair of speakers, be sure to get what you paid for.

Now, it’s worth noting that some audio brands have corrective solutions for times where ideal sound and ideal aesthetics aren’t aligned. One example is Linn’s Space Optimisation (a feature of their streamers and streaming amps), which adjusts the audio signal to account for room effects and even the model of your speakers. This allows you to place your speakers just about anywhere and recover the full performance your system has to offer.
If this feels relevant to you, look into your existing electronics (amplifier, receiver, streamer) and see if there’s any room correction feature. Products that have this feature sometimes include a microphone you can use to measure room acoustics, which the device then corrects by filtering the outputs.
The next step…
Now one thing that matters almost as much as speaker positioning is room acoustics.
It’s like the cousin of speaker positioning. Both are totally independent of the quality of the speakers themselves, and both have an enormous affect on the sound you get.
While there are acoustic products that make it easy to optimise room acoustics while enhancing how the room looks…there are also free and low-cost “DIY” ways to significantly improve room acoustics.
To learn about this next step in getting the most of our speaker investment, check out the room acoustics part of our ultimate beginner’s guide.
Hope you enjoyed our best speaker placement tips. Happy listening!
